Enable or download the Flash player
to view this movie. If you are using
an HTML editor then you wont see the
Flash movie unless you preview this
page in your browser.
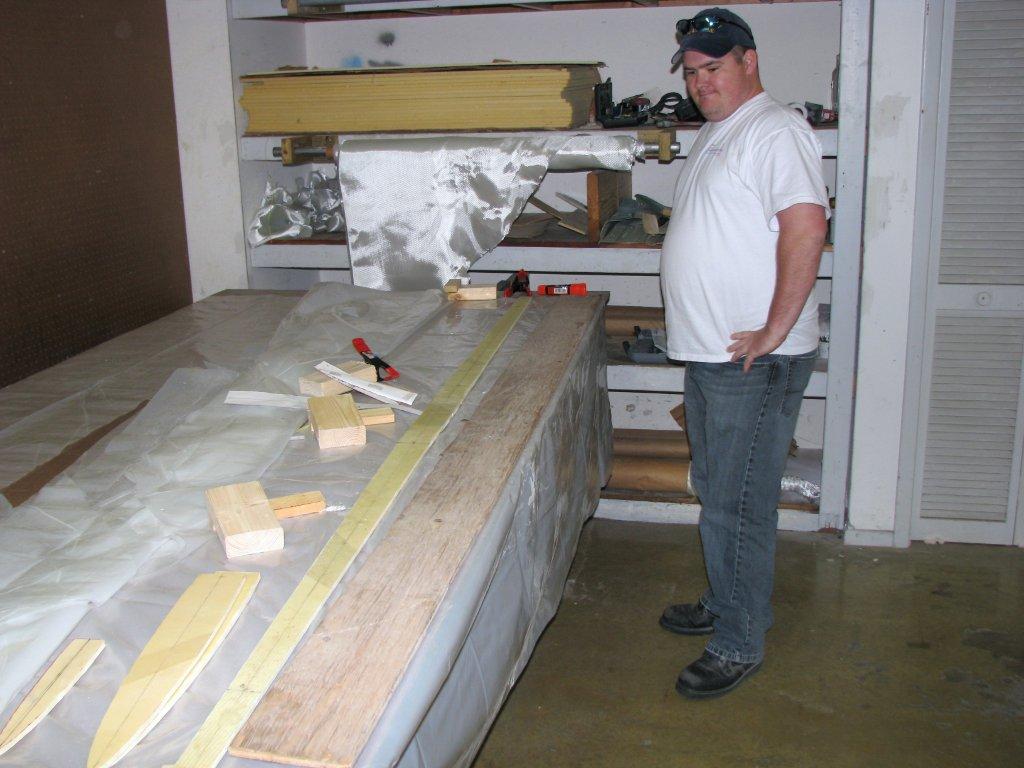
Build Session with Mike Schwab – Vision #87 During Sun
-N- Fun 2010
I had the privilege to work with Mike
Schwab for a couple days during Sun N Fun. He picked me up
from Lakeland airport about 10:00am and we headed to Largo,
FL where his Vision project is located.
Here is a photo log of what we
accomplished in the 2 days.
The plan was to build the horizontal
stabilizer. Mike had previously made the HS spar, and cut
the reference ribs and laid up the skins.
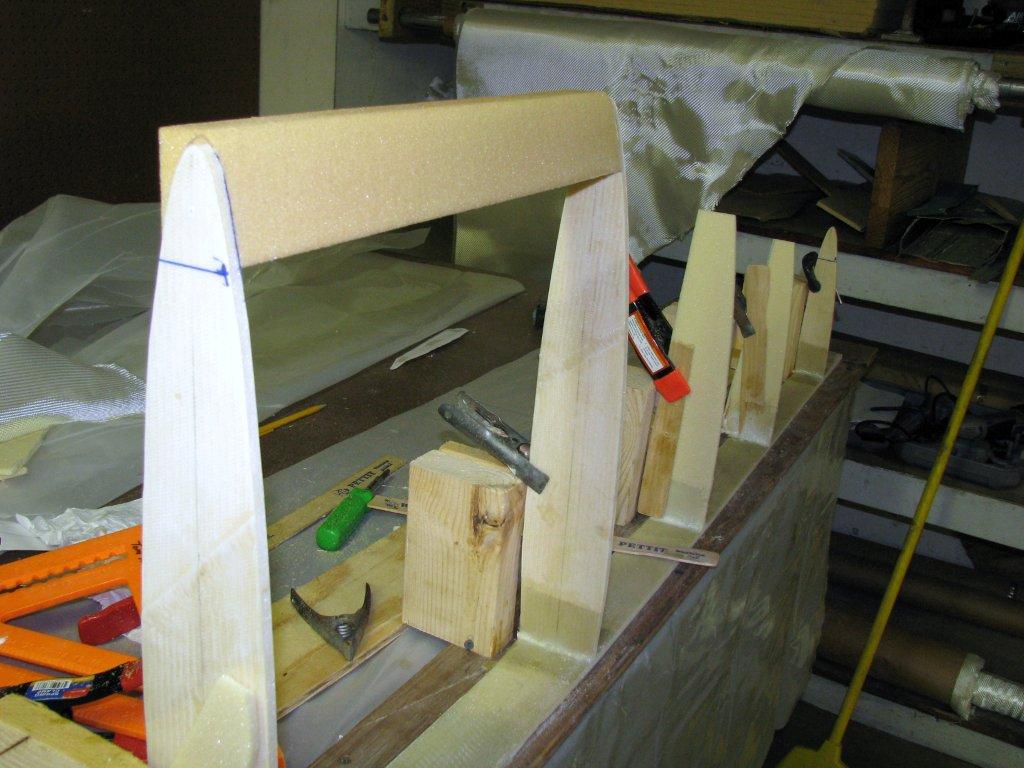
Attached the rib supports.
Prepped ribs and spar with 80 grit sand paper.
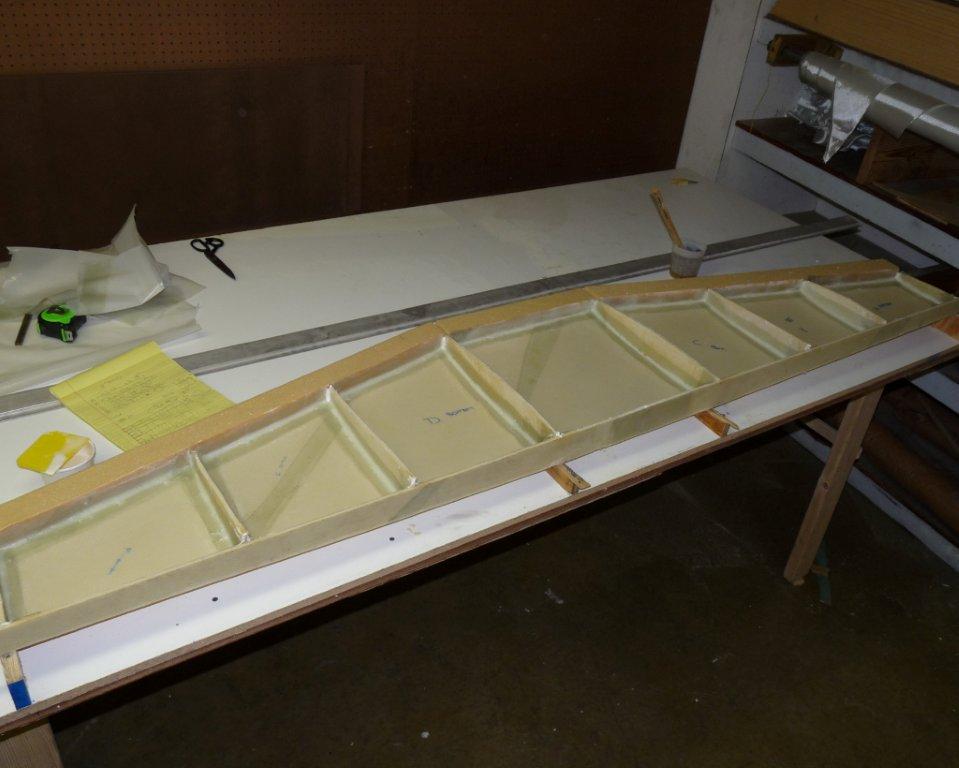
Attached ribs. Bottom edge of rib was cored and filled with
micro paste. A fillet was made from micro paste and
BID fiberglass was applied.
To speed up curing heat was carefully applied and
checked.
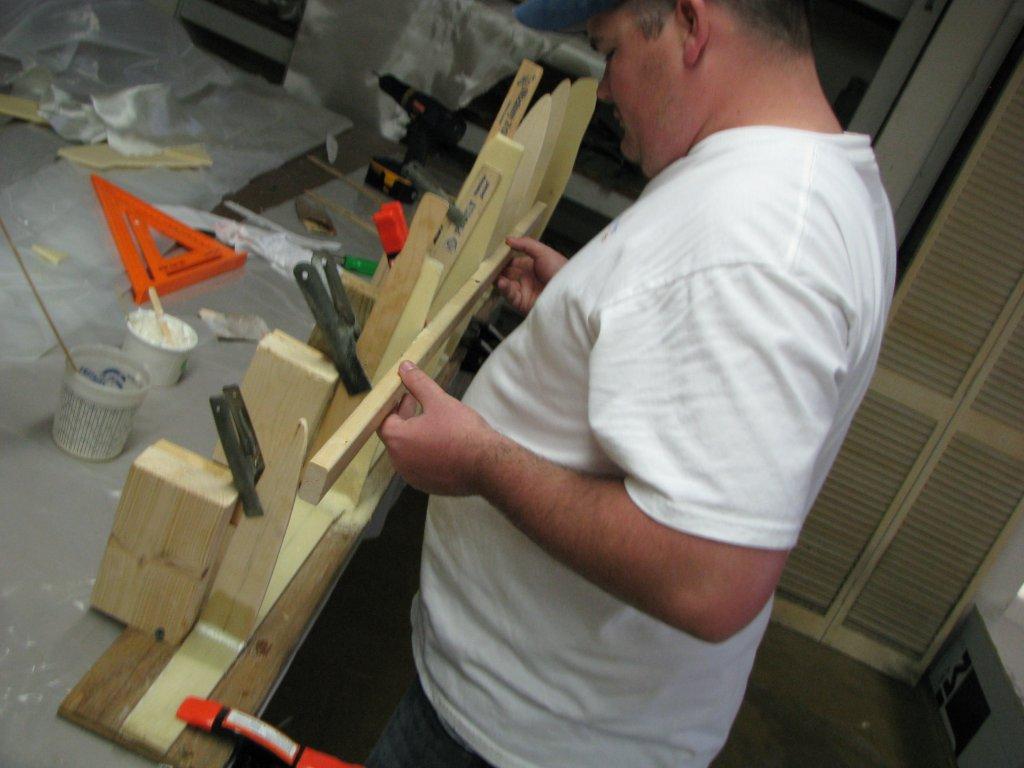
The ribs were all cured in about an hour. Sanding began on
the intermediate ribs to match the outer reference ribs.
Proper alignment was maintained along the span of the
sanding board as Mike got closer the the reference ribs.
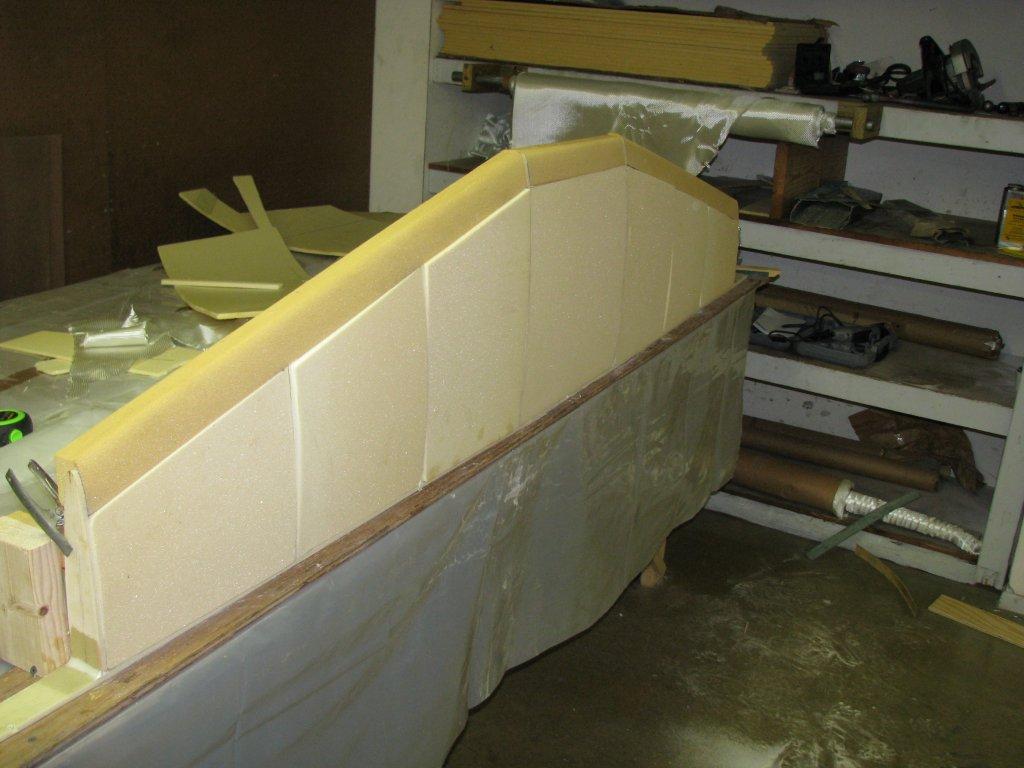
All ribs match the respective profile. The top of the
intermediate ribs were trimmed to allow for placement of the
leading edge foam.
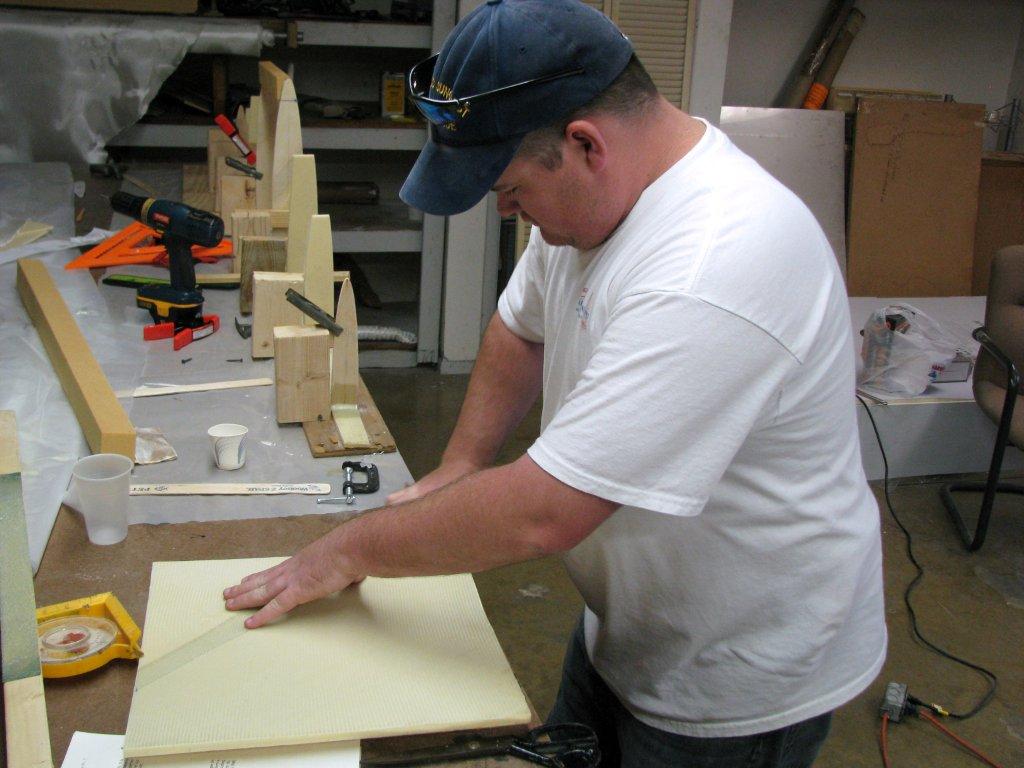
Skins were cut to size and the perimeter of the skins were
prepared by sanding with 40 grit sandpaper.
Note: Two sheets of foam was previously laid up with BID
on one side and cured prior to the build session.
The leading edge foam was cut a bonded in with 5 min epoxy
and micro then sanded to match.
Leading edge foam placed on remaining sections.
All skins were cut to size and shaped to fit.
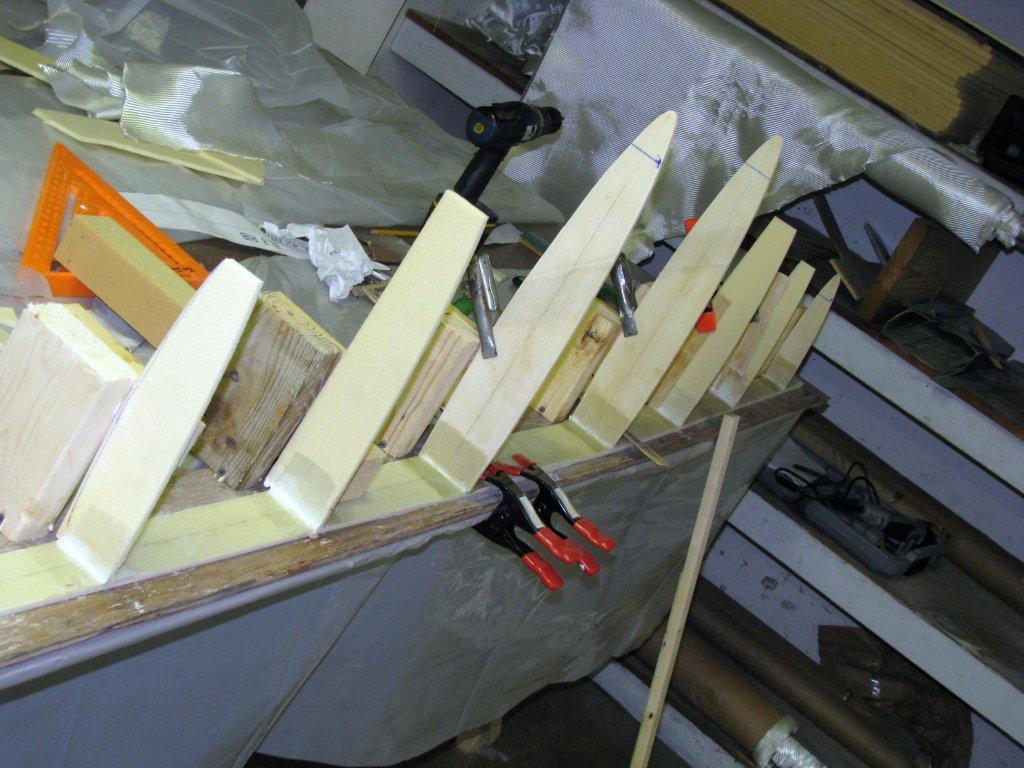
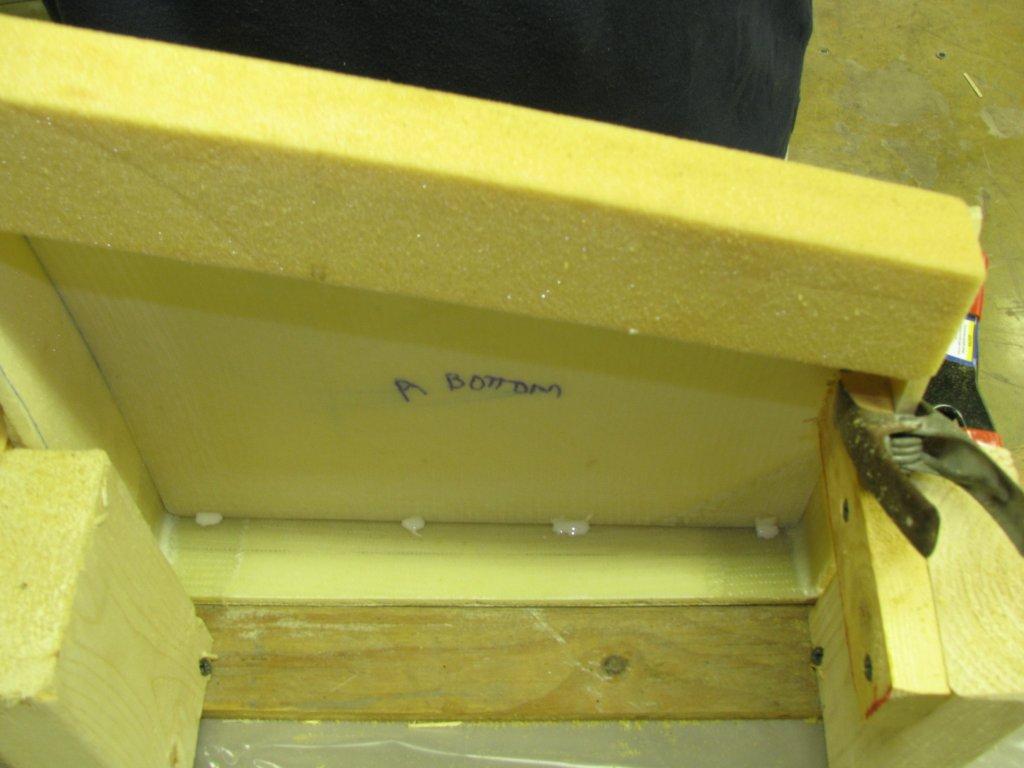
A new method of attaching the horizontal skins is depicted
here. Using a straight board with a 1/8" spacer
(a.k.a. mixing stick) the skins were tacked in with 5 min.
epoxy with micro along the span. This kept the skins in the
same plane with each other and extended past the edge of the
rib. The skins will be sanded to flush to the ribs
after they are all tacked in place.
This method makes for a quicker installation by
eliminating the requirement for flanges on one side of the
horizontal stabilizer as the skins will be BID taped with
the skin in place.
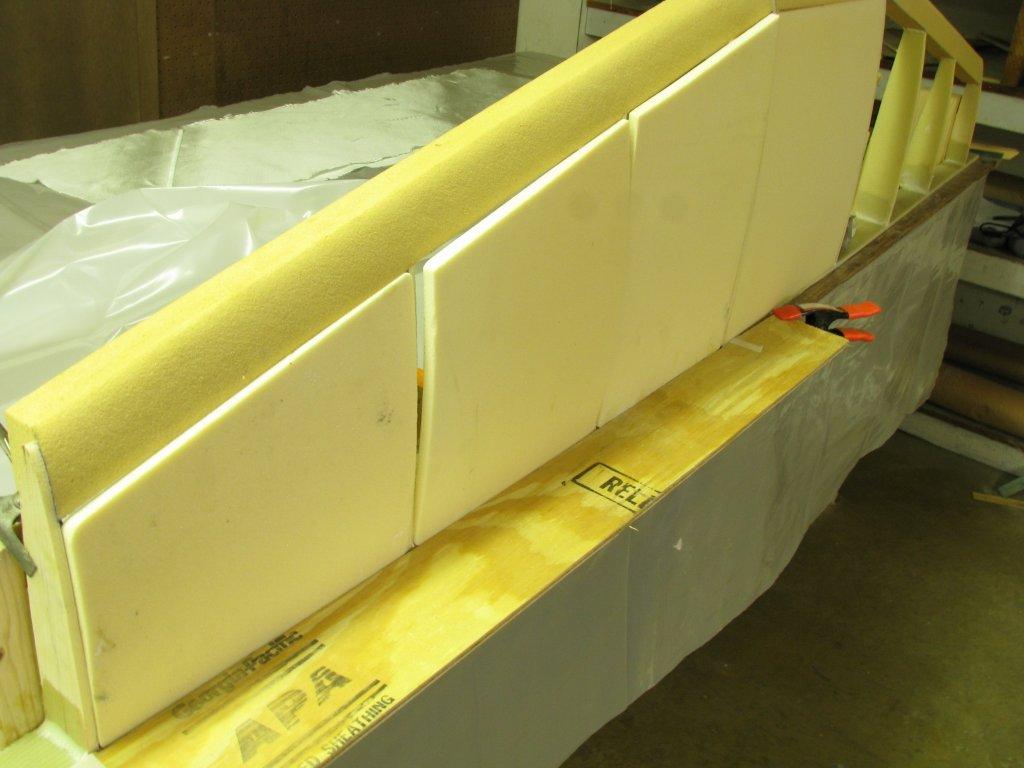
Skin is tacked in place.
Long board in alignment. Note: the board is moved up and
each individual skin is tacked in place in the same plane.
Skins sanded - just a little more to go and they will all be
flush with the reference ribs.
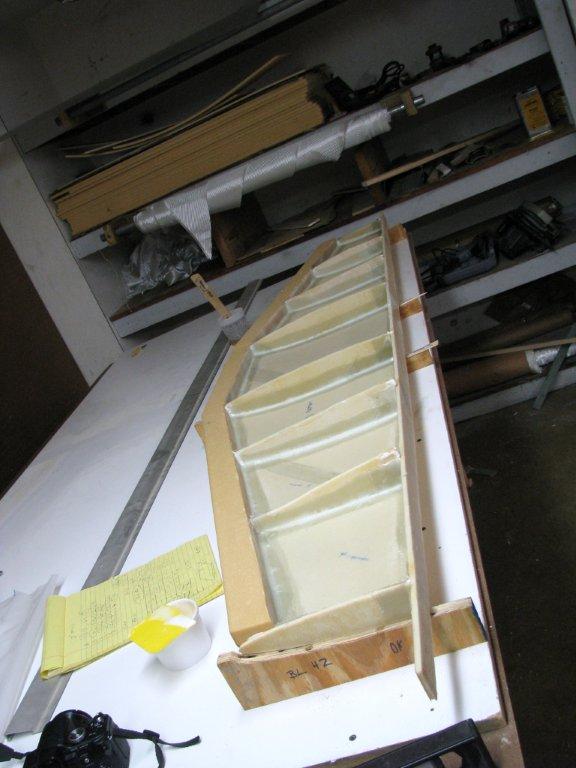
After the skins were all tacked in place. The HS was
removed and a simple jig was created to hold the HS in place
and ensure the leading edges were not twisted and the top
edge of the spar was in the same plane.
HS placed in jig. Notice the skins were tacked in.
To keep the BID tape uniform, a compass was used to make a
line approximately 1" from the ribs, leading edge and rear
spar.
Mike lays up the BID cloth between sheets of plastic while
Scott put the fillets of micro in the corners of the joints.
A Ziploc type freezer bag filled with micro and the corner
cut off made for easy application of the fillet.
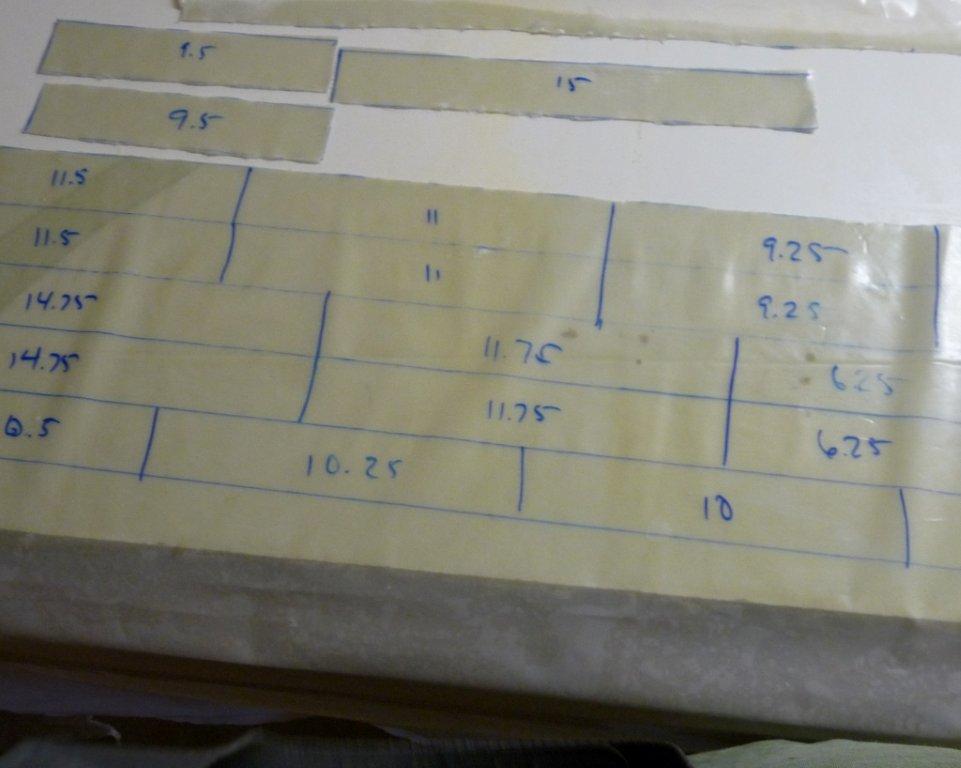
All the BID strips were laid out on the plastic sheet and
cut to size. Each strip corresponds to a diagram of
the HS. Planning ahead makes the job easier using
"poor mans pre-preg".
All the BID sections were placed as required. Bubbles
were worked out and then the plastic removed.
Any micro or drips of epoxy were cleaned off with acetone
making a professional looking part.
After two days - nearly 7 days of construction time by an
average builder was accomplished. If this looks easy
to you then maybe you should consider ordering a set of
plans and get started on making your dream of flight into
reality with a Vision Aircraft..