| Instrument Panel - Fabrication | |
 |
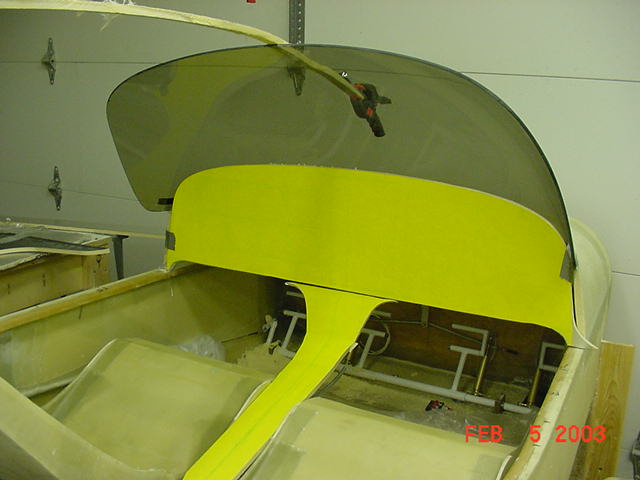
This will get bonded in. Then aluminum panels will be used to to mount the instruments. (This was not used, unfortunately. The windshield should be in first ) |
 |
The panel was roughed in with some insulation foam. (Celotex) panel. The last one was a little too small. |
 |
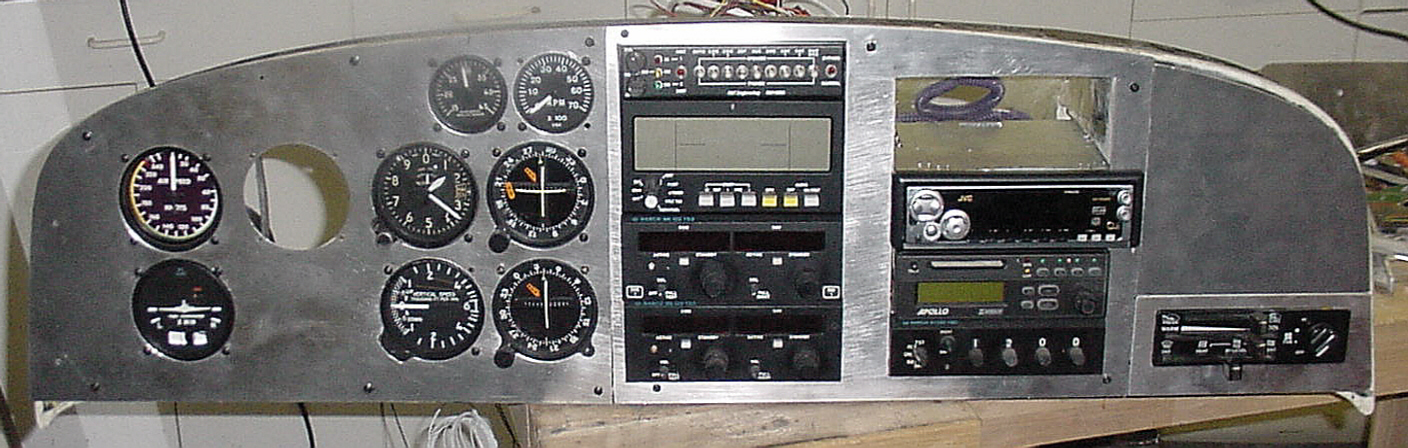
This is the basic layout of my panel. Need to determine, how I will get it to look that way. Aluminum, glass, and or a combination of the two.
|
 |
Made up a pattern (using CAD software, then cut/plotted on removable vinyl - It could be done with paper and 3M spray adhesive) put it on foam (Celotex) trimmed it and verified the final dimensions. |
 |
Here is the shape of the console. |
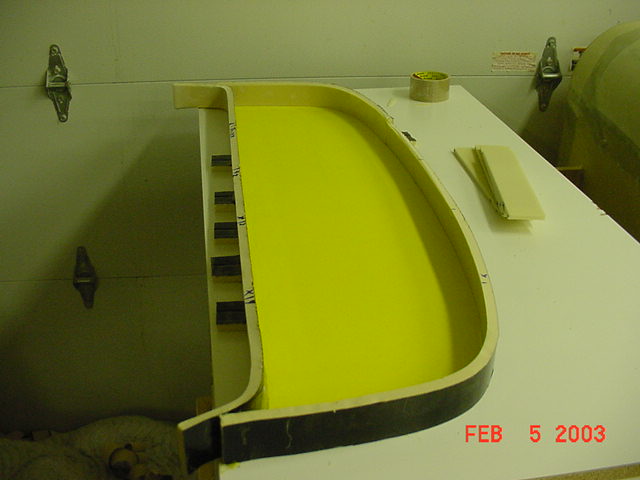 |
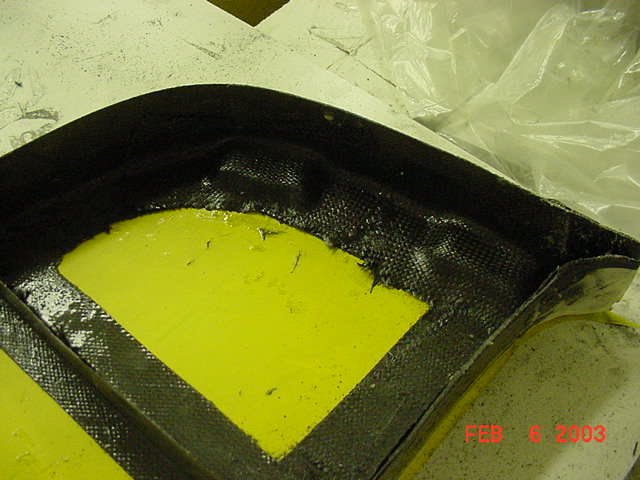
Then took if off the foam and stuck it on a nice clean melamine board. Cut some Celotex into 2" strips and peeled one side off, this gave it a nice smooth bending ability (like fold-a-plane), then took hot glue and glued the edge to form around the pattern. |
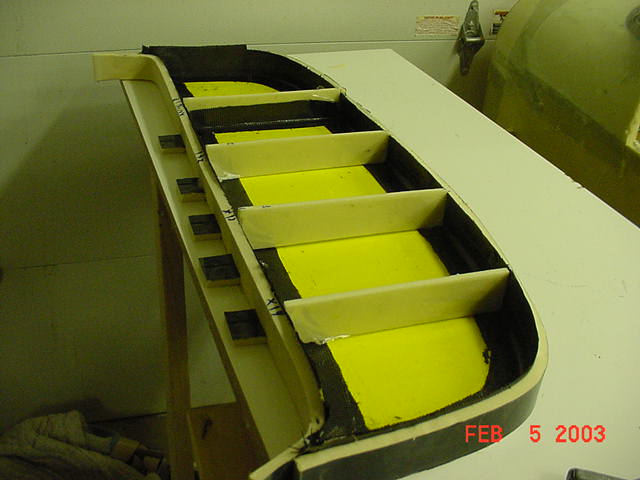 |
The hot glue sticks very well to the Celotex foam, better than the Last-a-foam or urethane. Then lined the inside bare foam with 2" clear packing tape. Micro'd the edges where the foam met the pattern. Laid in 4" strips of 4 Carbon BID (some areas more) in the edges and up the sides. Also put in 4 vertical braces. |
 |
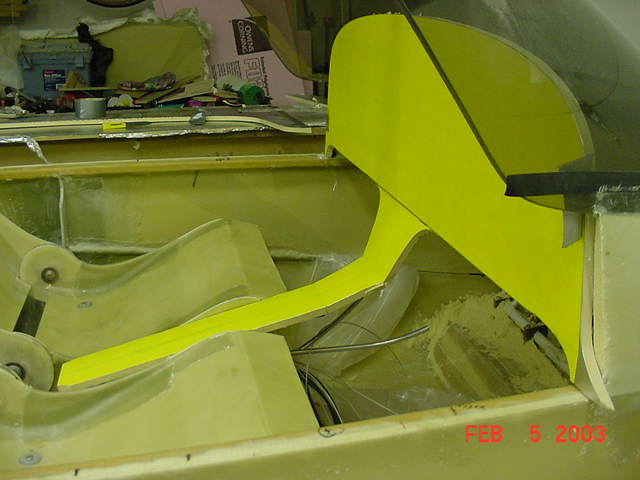
1/4" phenolic was placed in the top and bottom corners of the panel to support the screws that will be countersunk and go into corresponding phenolic/nut plates that are permanently bonded in the sides of the fuselage. |
 |
Start to finish in just a few hours. BTW it would have been faster had I realized it was a mirror image when I put the vertical braces in, they were removed and relocated. (It was going too smooth!). The frame will be supported from the underside and forward as well as the sides. Still needs some trimming but the general shape is there, is light and strong. |
 |
Used plastic and packing tape, and duct tape where appropriate. |
 |
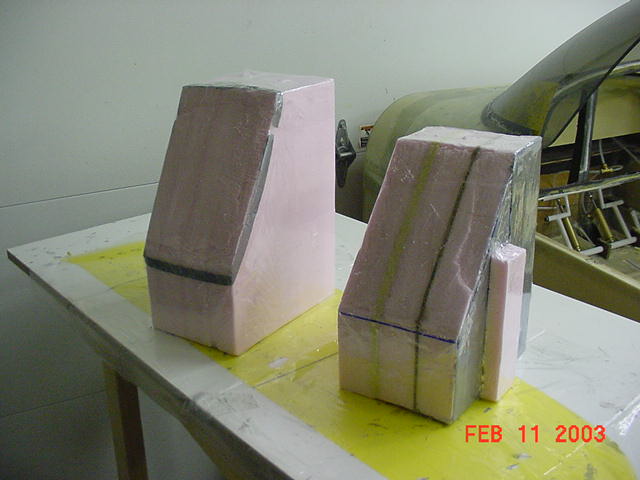
Made up some "precision" foam blocks and fit them in the panel. These will hopefully hold the stacks of radios. Had to cut the back side down to make adequate clearance from the windshield. |
 |
Then glassed with Carbon fiber and BID cloth. |
 |
Once again working with Celotex foam, I peeled the black side off, it allowed some compound curve without splitting. |
 |
You can see the little hump where the center stack it located. Next is to lay in a panel over top of the form. |
 |
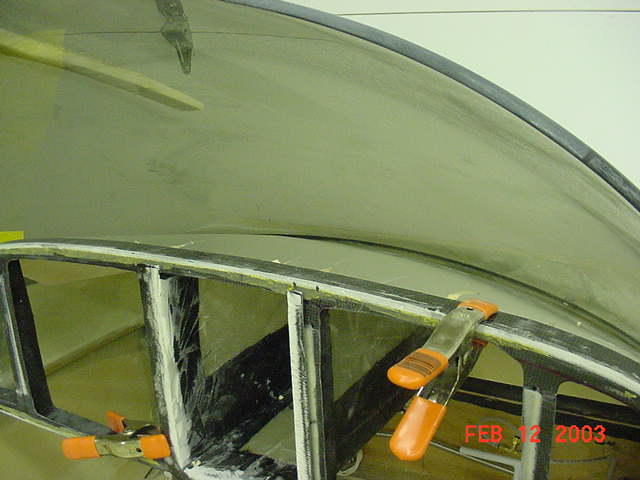
Ended up using the Celotex for a pattern for 1/4" foam. Glassed the top, let cure, then beveled the edges for the bottom glass. Notice the sanded areas for the defrost vents. |
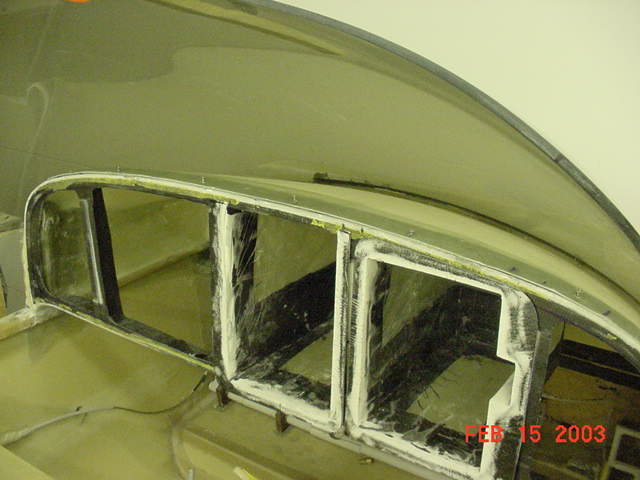 |
Bottom glassed and wrapped to topside of panel. 4 BID flange for screws that go into the panel frame that has corresponding nut plates installed. The top and sides of the panel are very rigid. Just need to support the bottom. |
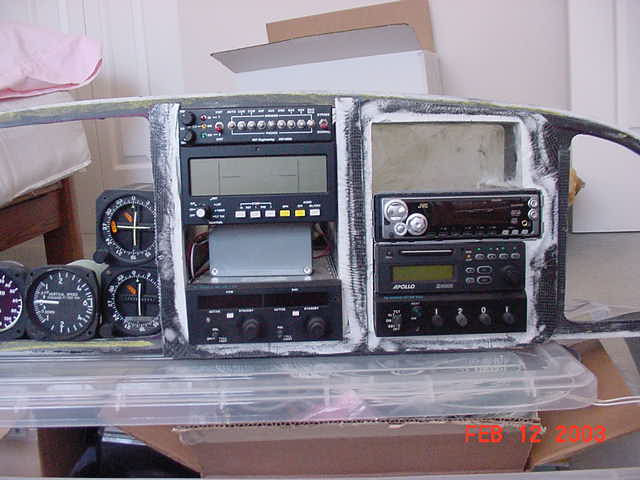 |
Close-up for a general idea of the layout. Had to move the FM tuner/CD player up for the deeper instruments below. |
 |
Trimmed the panel and boxes to fit, and the trays fit nicely into the boxes. |
 |
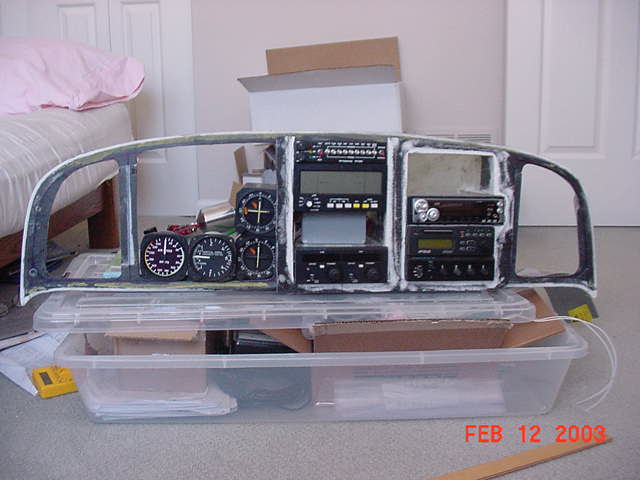
Instruments and radios mounted. The Heater - defrost controls are fitted in to place. The BMA/EFIS Lite should be in next month. Wiring continues. |